
So, you now have Microsoft 365 and you’re tired of looking at that colored circle beside your name with your initials in it. Okay, let’s put a picture in there. You can add or change your profile photo in Microsoft 365 from Office.com, or while using Microsoft 365 applications on your desktop, laptop, tablet, or phone, or in a browser on any of these devices. Your photo will appear everywhere there's a profile photo circle in Microsoft 365.
To add your profile photo to Microsoft 365 for business
- Find a picture you want to use and store it on your device, OneDrive, or another location you can access. The photo needs to be smaller than 4 MB and can be a .png, jpg, or .gif file.
- Sign in to Microsoft 365 with your work or school account at office.com.
- Click the circle in the upper right hand corner of the page showing either your initials or an icon of a person.

- In the pop-up that appears, select My Office Profile.
- On the My Profile page, click the Camera Icon next to the circle showing your initials or an icon of a person. Add your photo in the pop-up that appears.


Note: If you or your IT administrator have already added a profile picture, it will appear in the circle. You can keep it, or follow the instructions above to change it.
Admins: How to add photos on behalf of users
If you're a Microsoft 365 administrator, you can use the Exchange administration center or Windows PowerShell to add photos on behalf of your users.
Use the Exchange admin center
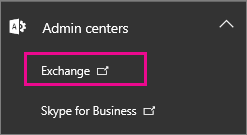
- Go to the Microsoft 365 admin center and open the Exchange admin console.
- Choose your own profile photo, then click Another user.
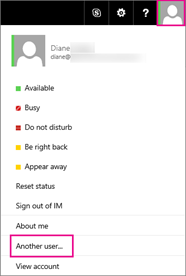
- Select the user you want to update and click OK.
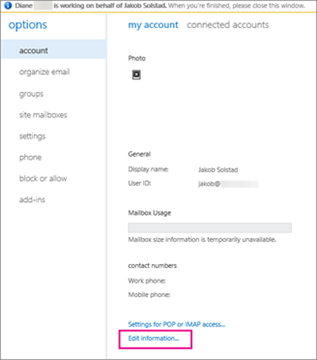
- Under Account, choose Edit information.
- Click Change.
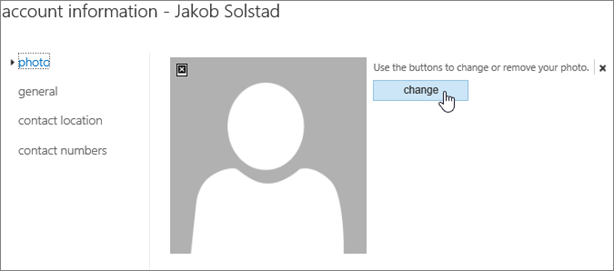
- Browse to the photo you want to upload, select it, and then choose Save.
Use Windows PowerShell
You can also use the Set-UserPhoto PowerShell cmdlet to change a user's photo. For example:
Set-UserPhoto "username" -PictureData ([System.IO.File]::ReadAllBytes("C:\Users\Administrator\Desktop\photo.jpg"))
Source information for this blog post is from Microsoft's article on the subject available here.